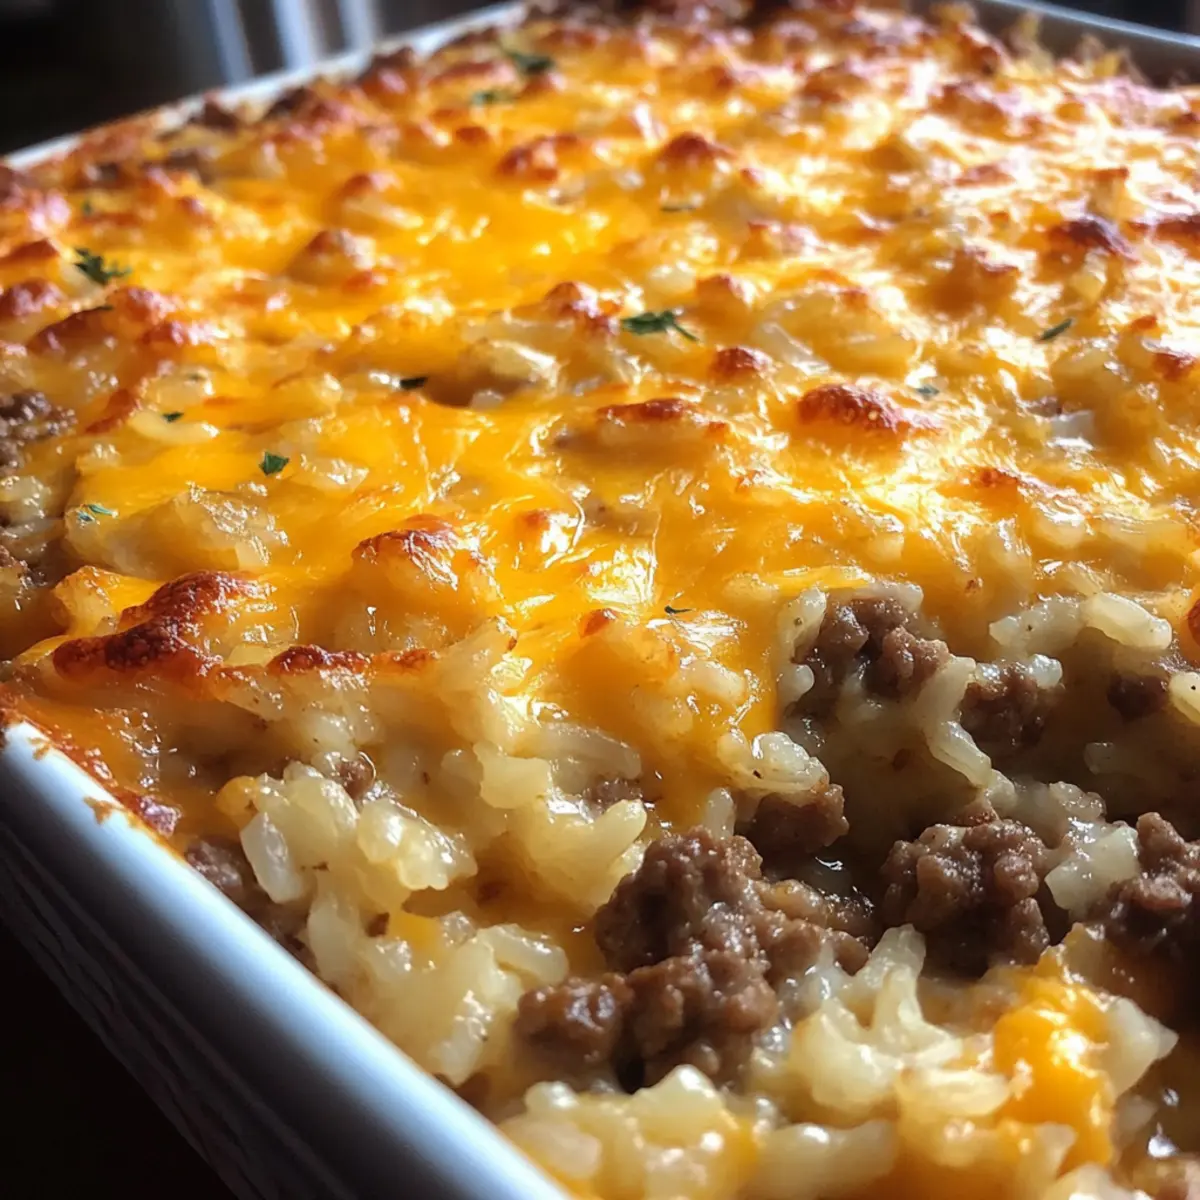
As I stood in the kitchen, a wave of nostalgia washed over me, reminding me of those lively family dinners filled with laughter and mouthwatering aromas. It was on one of those evenings that I discovered the magic of Stuffed Bell Peppers. Today, I’m excited to share my Classic Cheesy Stuffed Peppers with Ground Beef and Rice recipe—a hearty dish that brings together seasoned ground beef, fluffy rice, and rich tomato sauce, all baked to bubbling perfection under a melty cheese layer. Not only does this recipe promise a healthy dinner idea that will please even the pickiest of eaters, but it’s also a meal prep superstar, freezer-friendly for busy nights when cooking feels like a chore. Ready to bring a slice of warmth and comfort to your dinner table? Let’s dive in and create something delicious together!
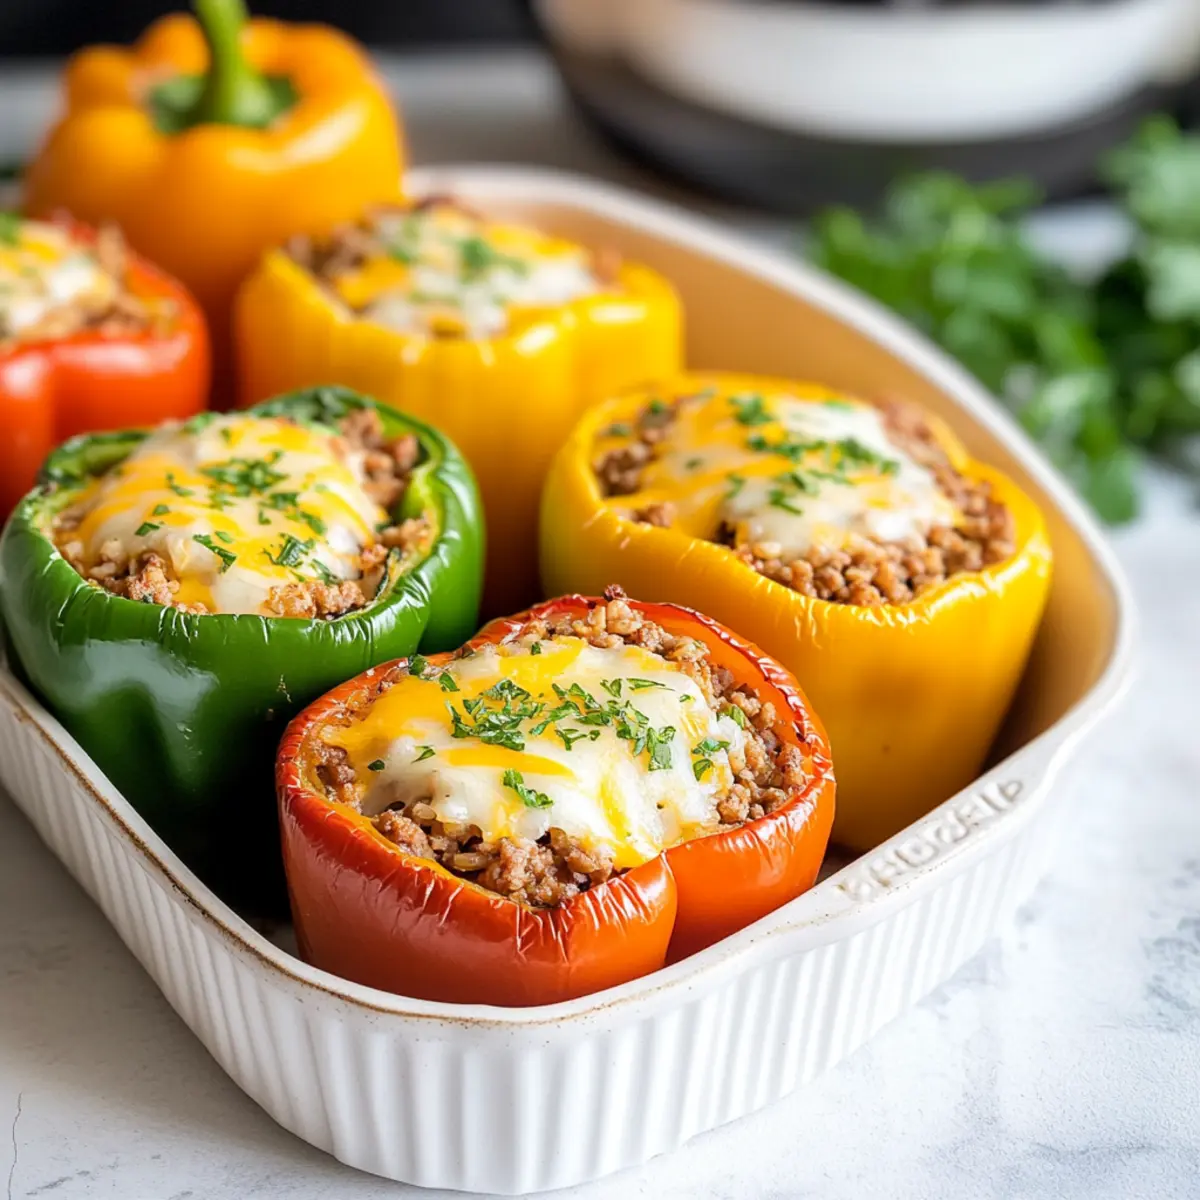
Why are stuffed bell peppers a family favorite?
Hearty Comfort: These classic stuffed bell peppers deliver a satisfying meal that warms the heart.
Customizable Goodness: You can easily swap out ground beef for turkey, or even try vegetarian variations for a meatless option.
Freezer-Friendly: Perfect for meal prep, you can make a big batch and freeze them unbaked for later, just like my Unstuffed Cabbage Casserole — an ideal solution for busy weekdays.
Flavor Explosion: Bursting with rich flavors from seasoned beef, rice, and gooey cheese, every bite is a delight.
Family Appeal: Kids and adults alike will gobble them up, making dinner time a breeze!
Quick Assembly: With straightforward steps, you can have dinner ready in no time, leaving you with more precious moments to enjoy with your loved ones.
Stuffed Bell Peppers Ingredients
• Discover the essential elements for crafting delicious, stuffed bell peppers!
For the Filling
- ¾ cup uncooked brown rice – Provides bulk and structure; substitute with white rice or quinoa for variations.
- 1 pound ground beef or turkey – The primary protein source; feel free to use ground chicken or sausage.
- ¾ cup finely chopped yellow onion – Adds sweetness to the filling; can be swapped with shallots or leeks.
- 3 cloves garlic, minced – Imparts rich flavor; fresh is preferred, but garlic powder works in a pinch.
- 15-ounce can diced tomatoes – Contributes moisture and flavor; fresh diced tomatoes or tomato puree can also be used.
- 8-ounce can tomato sauce – Provides tanginess to the mixture; marinara sauce can enhance the flavor even more.
- 2 teaspoons Italian seasoning – Adds depth to the dish; swap with taco seasoning for a twist.
- ½ teaspoon garlic powder – Optional for an extra garlic punch, or omit if you’re using fresh garlic generously.
- ½ teaspoon salt – Enhances overall flavor; adjust to fit your dietary needs.
- ¼ teaspoon pepper – Adds a mild kick; freshly cracked pepper is a delightful upgrade.
For the Peppers
- 6 bell peppers (any color) – Acts as the delightful vessel for your filling; select firm peppers that stand upright.
For Topping
- 1 cup shredded mozzarella or cheddar cheese (4 ounces divided) – Ensures creaminess and richness; feel free to use any cheese blend you prefer.
This stuffed bell peppers recipe is all about creating a comforting, satisfying meal that your entire family will crave!
Step‑by‑Step Instructions for Classic Cheesy Stuffed Peppers with Ground Beef and Rice
Step 1: Prepare the Rice
Start by cooking the brown rice according to the package instructions, usually about 40-45 minutes. Once it’s tender, remove it from heat and set it aside to cool. This fluffy rice will serve as a hearty base for your stuffed bell peppers, adding texture and nutrition to the filling.
Step 2: Preheat the Oven
Preheat your oven to 400°F (204°C). This temperature is crucial for ensuring your stuffed peppers bake evenly and the cheese melts beautifully. While the oven heats up, you can prepare your bell peppers and the filling, making the most of your time.
Step 3: Prepare the Bell Peppers
Carefully slice the tops off the six bell peppers and remove the seeds and membranes inside. Choose peppers that stand upright, allowing them to hold the filling better. Their vibrant colors will brighten your dish, making the classic stuffed peppers visually appealing.
Step 4: Sauté the Onion
In a large skillet, heat 2 teaspoons of olive oil over medium heat. Once hot, add ¾ cup of finely chopped yellow onion and sauté for 2-3 minutes until softened and translucent. This step enhances the flavor of your filling, setting a savory foundation for your classic stuffed peppers.
Step 5: Cook the Ground Meat
Add 1 pound of ground beef or turkey to the skillet with the softened onion. Cook while breaking it apart with a spatula until browned, about 5-7 minutes. Drain any excess grease, keeping the filling lean and delicious for your stuffed bell peppers.
Step 6: Add Garlic and Seasonings
Stir in 3 minced garlic cloves into the skillet, cooking for about 30 seconds until fragrant. Then, mix in the 15-ounce can of diced tomatoes, 8-ounce can of tomato sauce, 2 teaspoons of Italian seasoning, ½ teaspoon of garlic powder, ½ teaspoon of salt, and ¼ teaspoon of pepper. Let everything simmer for 5 minutes to allow the flavors to meld.
Step 7: Combine the Filling
Remove the skillet from heat and gently fold in the cooked rice and half of the shredded cheese into the meat mixture. This combination creates a rich, hearty filling that perfectly complements the bell peppers. The classic cheesy stuffed peppers will soon come to life!
Step 8: Fill the Peppers
Pour ½ cup of water into a baking dish to create steam, then carefully fill each prepared bell pepper with the meat and rice mixture. Stand them upright in the dish, ensuring they are packed snugly. Top each pepper with the remaining shredded cheese, allowing for a gooey finish.
Step 9: Bake Covered
Cover the baking dish with aluminum foil and place it in the preheated oven. Bake for 30 minutes, allowing the peppers to soften and the flavors to blend. The steam helps cook them without drying out, keeping your classic stuffed peppers juicy and delicious.
Step 10: Bake Uncovered
After 30 minutes, carefully remove the foil and bake for an additional 5 minutes. This final step lets the cheese bubble and lightly brown, adding an irresistible layer of flavor to your stuffed bell peppers. Soon, you’ll have a warm, cheesy masterpiece ready to delight your family!
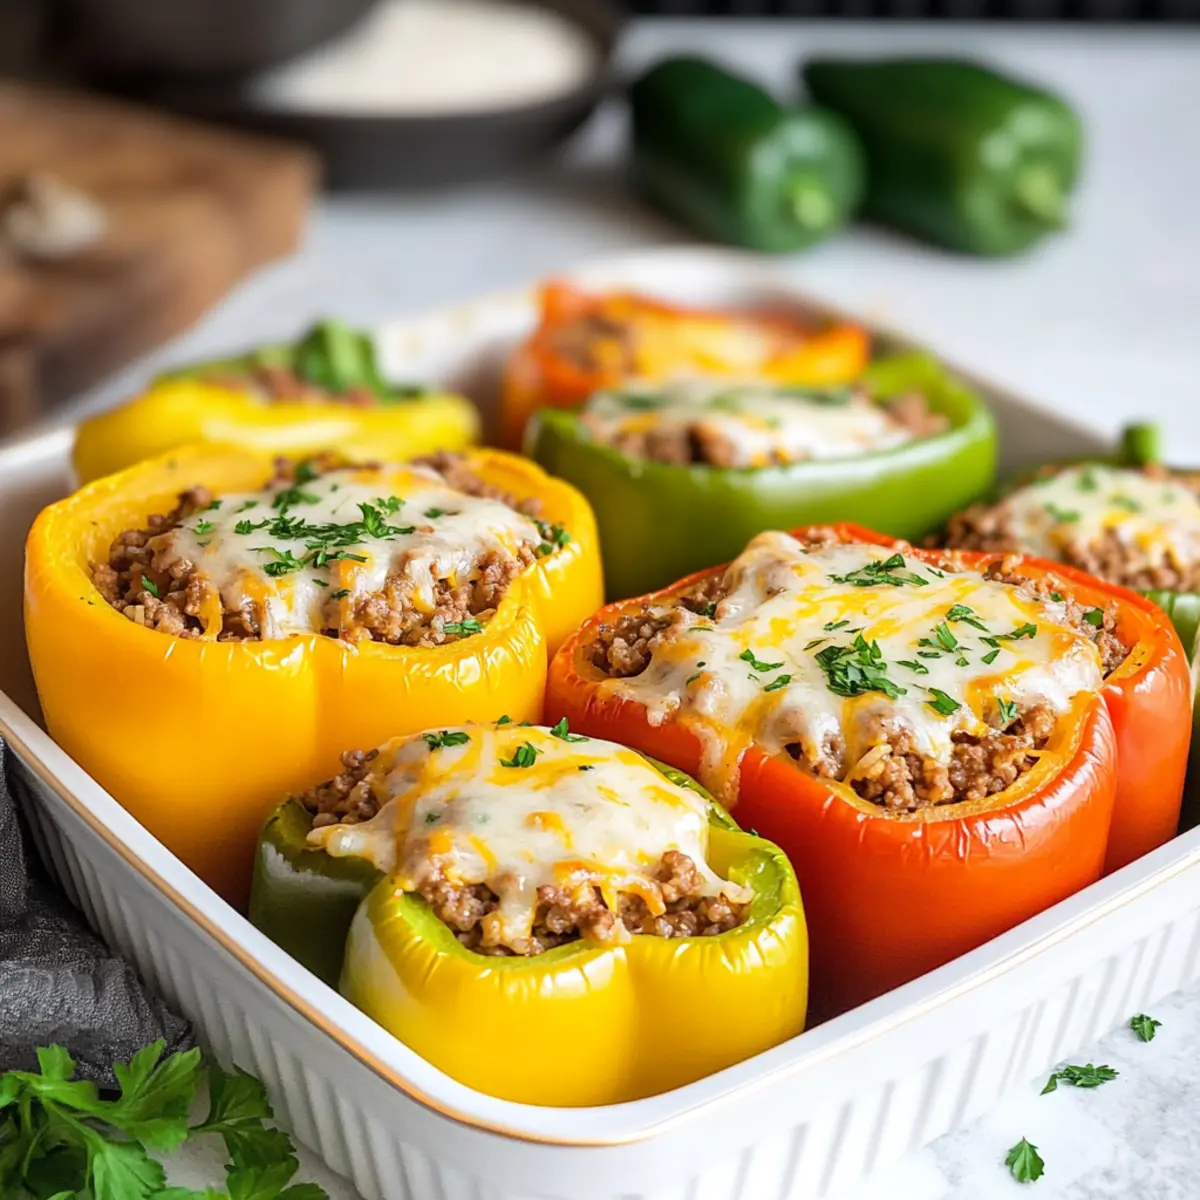
Stuffed Bell Peppers Variations & Substitutions
Feel free to get creative and make this recipe your own, adding your favorite ingredients and flavors!
- Vegetarian: Swap out the meat for a mixture of black beans, corn, and quinoa for a plant-based delight.
- Spicy Kick: Stir in diced jalapeños or a splash of hot sauce for extra heat and flavor.
- Cheesy Twist: Add some cream cheese or sour cream to the filling for an extra creamy texture that your family will love.
- Grain Alternatives: Use farro or couscous in place of rice for a different texture and taste; they’ll soak up the flavors wonderfully.
- Herbal Infusion: Experiment with fresh herbs like basil or cilantro to elevate the dish with vibrant freshness; it’s a lovely way to brighten up your stuffed peppers.
- Italian Flair: Replace Italian seasoning with oregano and add Parmesan cheese for an Italian-inspired twist; these cheesy stuffed peppers will remind you of your favorite lasagna.
- Extra Veggies: Incorporate sautéed zucchini or spinach into the filling for a nutritious boost and added color.
- Savory Sauces: Swap tomato sauce with a savory marinara for a more robust flavor, reminiscent of my delicious Honey Pizza Stuffed dish.
No matter how you decide to customize it, your stuffed bell peppers will surely become a comforting staple at your dining table!
What to Serve with Classic Cheesy Stuffed Peppers
These delightful stuffed peppers create the perfect centerpiece for a cozy family meal, inviting a variety of flavors and textures to take your dinner to the next level.
-
Garlic Bread: The buttery, toasted goodness of garlic bread provides a crunchy contrast, soaking up the rich tomato sauce perfectly. Nothing beats the combination of cheesy stuffed peppers and a garlic-infused slice of bread!
-
Fresh Garden Salad: A light, crisp salad with mixed greens, cherry tomatoes, and a tangy vinaigrette adds brightness and refreshing crunch, complementing the savory stuffed peppers beautifully. It balances the hearty meal with a burst of freshness.
-
Creamy Mashed Potatoes: Their velvety texture contrasts with the stuffed peppers’ texture, making for a comforting duo. Top them with a little extra butter or gravy for an indulgent touch.
-
Roasted Vegetables: Roasting seasonal veggies, such as zucchini, carrots, or bell peppers, drizzled with olive oil enhances their natural sweetness. These colorful roasted beauties bring a nutritious and delicious side to your stuffed peppers.
-
Corn on the Cob: Sweet, juicy corn on the cob served warm adds a fun, summery element to the meal. Slather with butter and a sprinkle of salt for an irresistible pairing that the whole family will love.
-
Wine Pairing: A glass of light-bodied red, like Pinot Noir, beautifully accentuates the flavors of the meat and cheese. Alternatively, a crisp white wine like Sauvignon Blanc offers a refreshing contrast to the rich stuffed peppers.
-
Chocolate Cake: End your meal with a slice of rich chocolate cake for the perfect sweet finish. The deep flavors of chocolate pair wonderfully with the savory stuffed peppers’ comforting warmth.
Make Ahead Options
These Classic Cheesy Stuffed Peppers are perfect for busy weeknights when you need to save time! You can prepare the peppers, fill them with the meat and rice mixture, and refrigerate them for up to 24 hours before baking. Just make sure to cover them tightly with foil to maintain moisture and freshness. If you want to prep even further, you can also freeze unbaked stuffed peppers for up to 3 months. When ready to serve, thaw them overnight in the refrigerator, and bake as directed. You’ll enjoy delicious stuffed bell peppers that are just as flavorful with minimal effort on the day of serving!
How to Store and Freeze Stuffed Bell Peppers
- Fridge: Store cooked stuffed bell peppers in an airtight container in the refrigerator for up to 3 days, ensuring they remain moist and delicious.
- Freezer: Unbaked stuffed bell peppers can be frozen for up to 3 months. Just make sure they are tightly wrapped in plastic wrap and then placed in a freezer bag for best results.
- Thawing: When ready to bake, thaw frozen stuffed peppers in the refrigerator overnight before cooking them; this ensures even cooking.
- Reheating: If reheating leftover cooked stuffed bell peppers, cover them in the oven with foil and heat at 350°F (175°C) until warmed through, about 20 minutes.
Expert Tips for Stuffed Bell Peppers
- Choose Quality Peppers: Select firm bell peppers that can stand upright; this ensures they hold all the delicious filling without toppling over.
- Avoid Overcooking Rice: Make sure to not overcook your rice, as it can turn mushy during baking; aim for just tender, then let it cool.
- Customize the Filling: Feel free to experiment by adding veggies like spinach or mushrooms, or using different meats like chicken or sausage to create personalized stuffed peppers.
- Watch the Cheese: Keep an eye on the cheese while baking; if it’s browning too quickly, cover loosely with foil to prevent burning.
- Batch Freeze: Prepare extra stuffed bell peppers to freeze unbaked—this allows for quick, convenient meals on busy nights when you need something tasty and comforting.
- Serve with Style: Complement your stuffed bell peppers with a side salad or garlic bread for a balanced and family-friendly dinner experience.
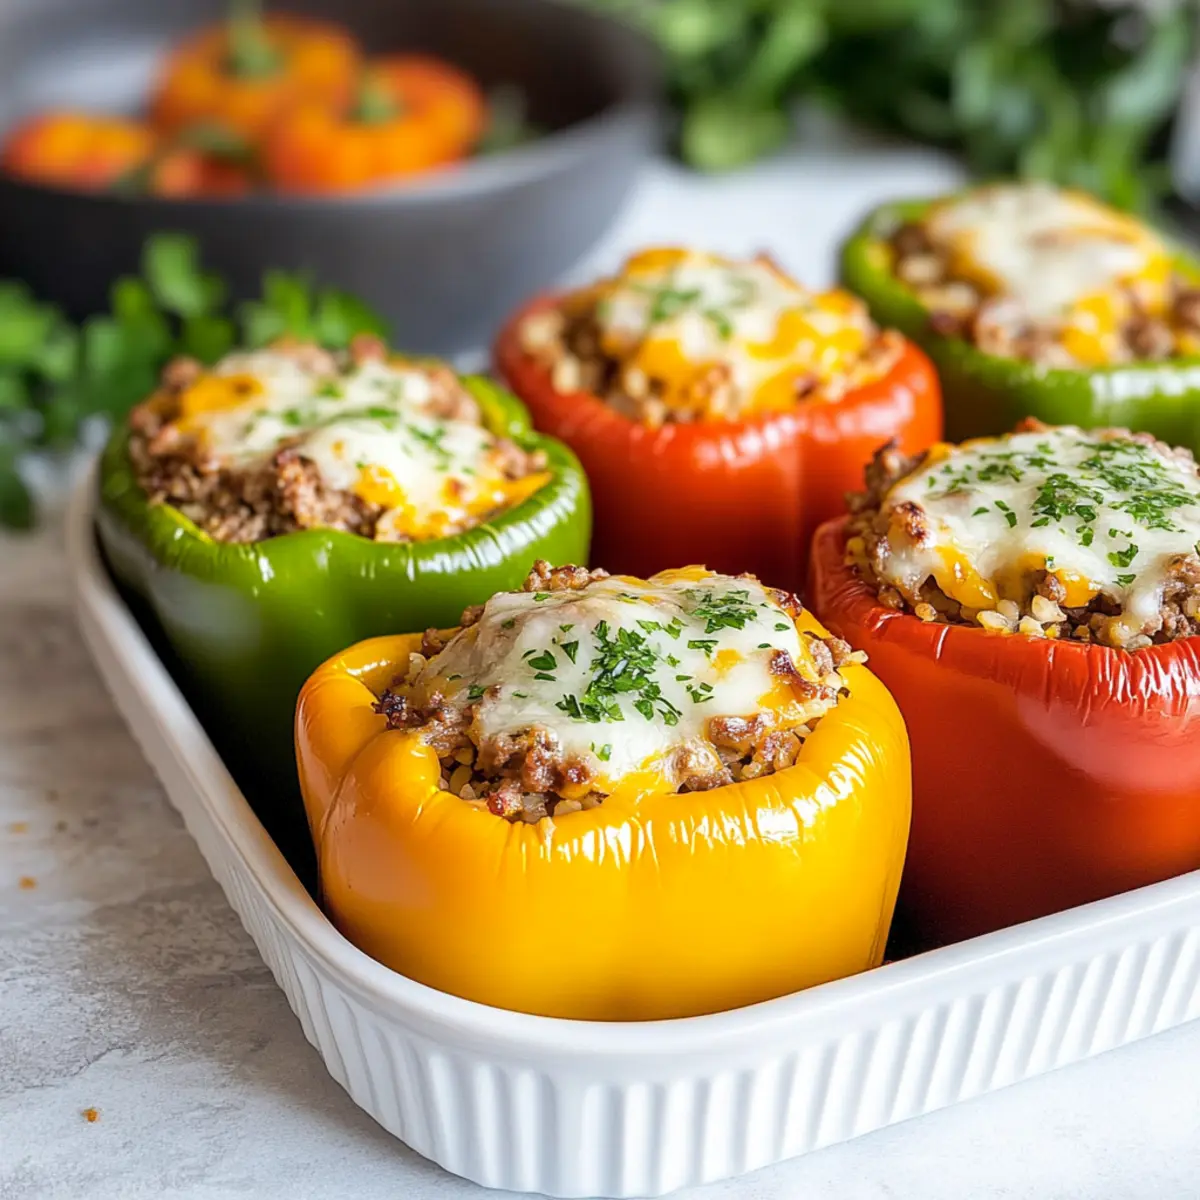
Stuffed Bell Peppers Recipe FAQs
How do I choose ripe bell peppers?
Absolutely! When selecting bell peppers for stuffing, look for firm, unblemished peppers that feel heavy for their size. A vibrant color without dark spots or wrinkles indicates freshness. The tops should sit snugly, ensuring they can stand upright and hold your delightful filling.
How should I store cooked stuffed peppers?
For the best flavor and texture, store cooked stuffed bell peppers in an airtight container in the refrigerator for up to 3 days. To keep them from drying out, cover them with plastic wrap or foil. When reheating, cover them with foil in the oven to maintain moisture.
Can I freeze stuffed bell peppers?
Very! You can freeze unbaked stuffed bell peppers for up to 3 months. First, wrap them tightly in plastic wrap and then place them in a freezer bag. To bake, thaw them in the refrigerator overnight before cooking. This allows for even cooking and that perfect cheesy finish!
What should I do if the bell peppers are too tough to eat?
If you find your bell peppers are tough after baking, they may need more time in the oven. You can cover them loosely with foil to create steam and cook them at 350°F (175°C) until they are tender. Aim for about 10-15 more minutes, checking periodically for desired softness.
Are there any dietary considerations for stuffed bell peppers?
Yes! If you’re cooking for someone with allergies, be mindful of common allergens in your filling, such as dairy or gluten (in some sauces). You can easily make this dish vegetarian by using beans or lentils, and substituting the cheese for a vegan option. It’s an accommodating recipe that can suit various dietary needs!
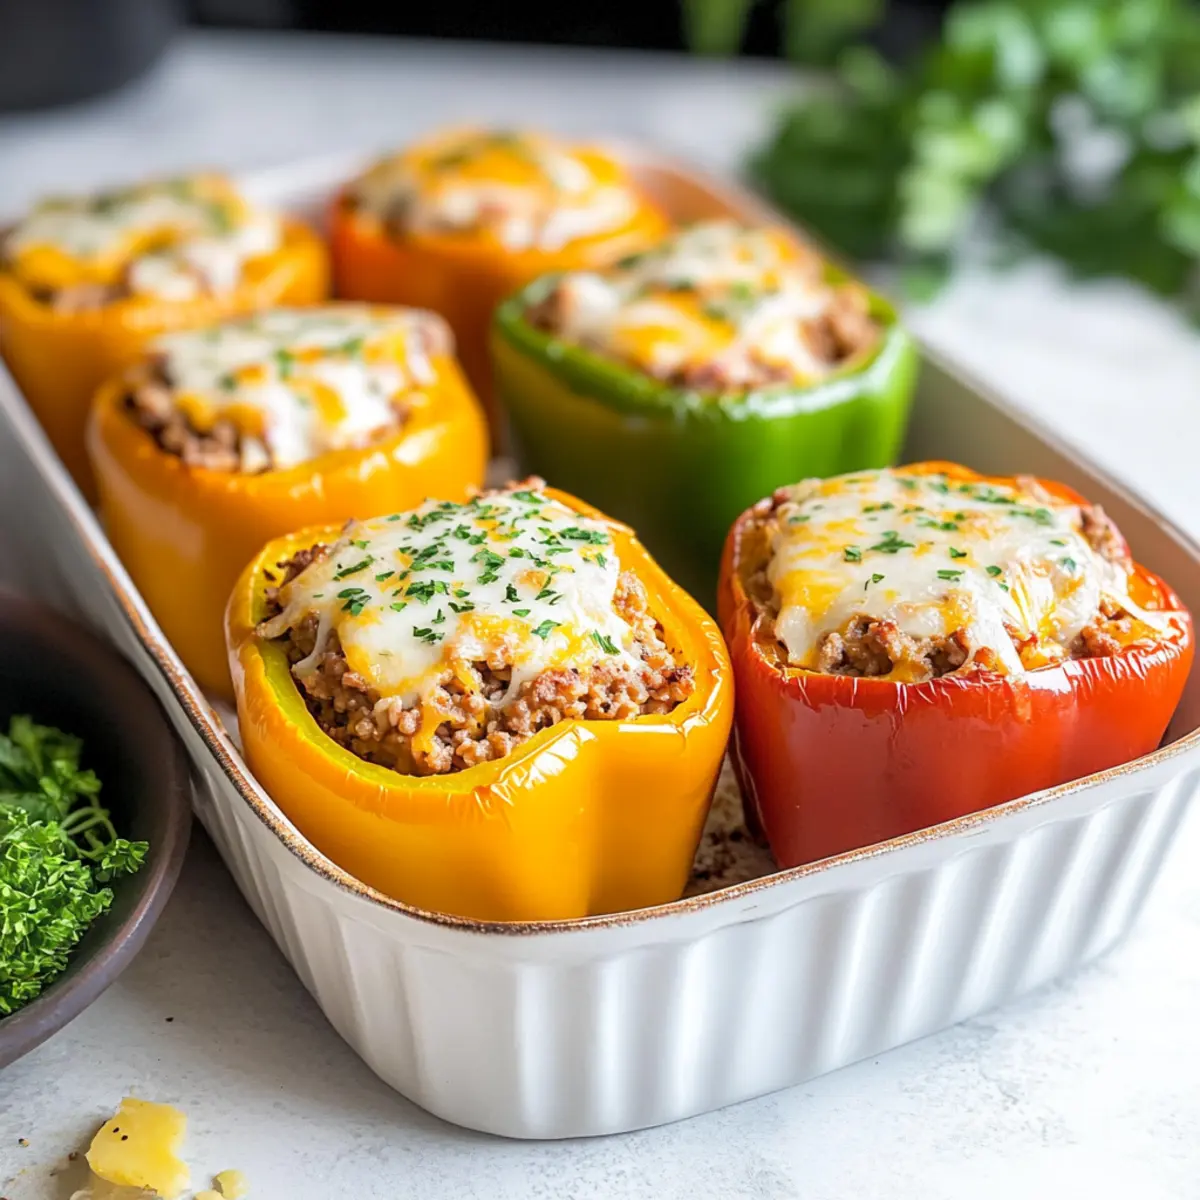
Hearty Stuffed Bell Peppers Your Family Will Crave
Ingredients
Equipment
Method
- Cook the brown rice according to the package instructions, about 40-45 minutes. Remove from heat and let it cool.
- Preheat your oven to 400°F (204°C).
- Slice the tops off the bell peppers and remove the seeds and membranes. Choose peppers that stand upright.
- Heat 2 teaspoons of olive oil in a large skillet over medium heat. Add the chopped onion and sauté for 2-3 minutes until softened.
- Add the ground beef or turkey to the skillet and cook until browned, about 5-7 minutes. Drain any excess grease.
- Stir in minced garlic and cook for about 30 seconds until fragrant. Add diced tomatoes, tomato sauce, Italian seasoning, garlic powder, salt, and pepper. Let simmer for 5 minutes.
- Remove from heat and fold in the cooked rice and half of the shredded cheese.
- Pour ½ cup of water into a baking dish. Fill the bell peppers with the meat and rice mixture and top with remaining cheese.
- Cover with aluminum foil and bake for 30 minutes.
- Remove the foil and bake for an additional 5 minutes until the cheese is bubbly and lightly browned.